How to install the SCEPTER Salt Cell
With the installation of a new SCEPTER salt water cell, we recommend where possible to start with a refill of fresh clean water (preferably filtered using a carbon filter). The water is then prepared as per the instructions in Part 2:

Part 1: Sceptre Physical Installation
For the physical installation you will probably need the following tools:
A suitable straight or hex head screw driver to remove and replace the spa pump compartment side panel screws.
A medium size adjustable spanner (Wrench) to loosen / and tighten the existing and replacement cable grip on the salt cell (& SCEPTER) cable on the spa shell wall, and the cable grip on the top of the filter plastic cap.
A set of small long nose pliers may be required to assist with the parting of the two sets of cable bullet connectors.
To commence physical installation, first turn off the power to the spa.
Remove the panel which covers access to the pumps and other electronics that control the spa. This usually requires the removal of a number of screws. Then to remove the panel, lift it up from the bottom so that it detaches from the hidden “hooks” on its back side. While lifted, gently pull the bottom edge outwards and allow the panel to drop to the ground.
The next step is to locate the wire cable (usually grey) that comes from your existing salt cell. This cable will enter the interior pump space area of the spa through a hole in the spa shell wall close to the filter compartment normally where the Salt cell is located. This cable will be connected using “bullet connectors” to another grey cable that runs to the control module and power supply. Separate and disconnect the cells two male connectors from the female bullet connectors leading to the controller.

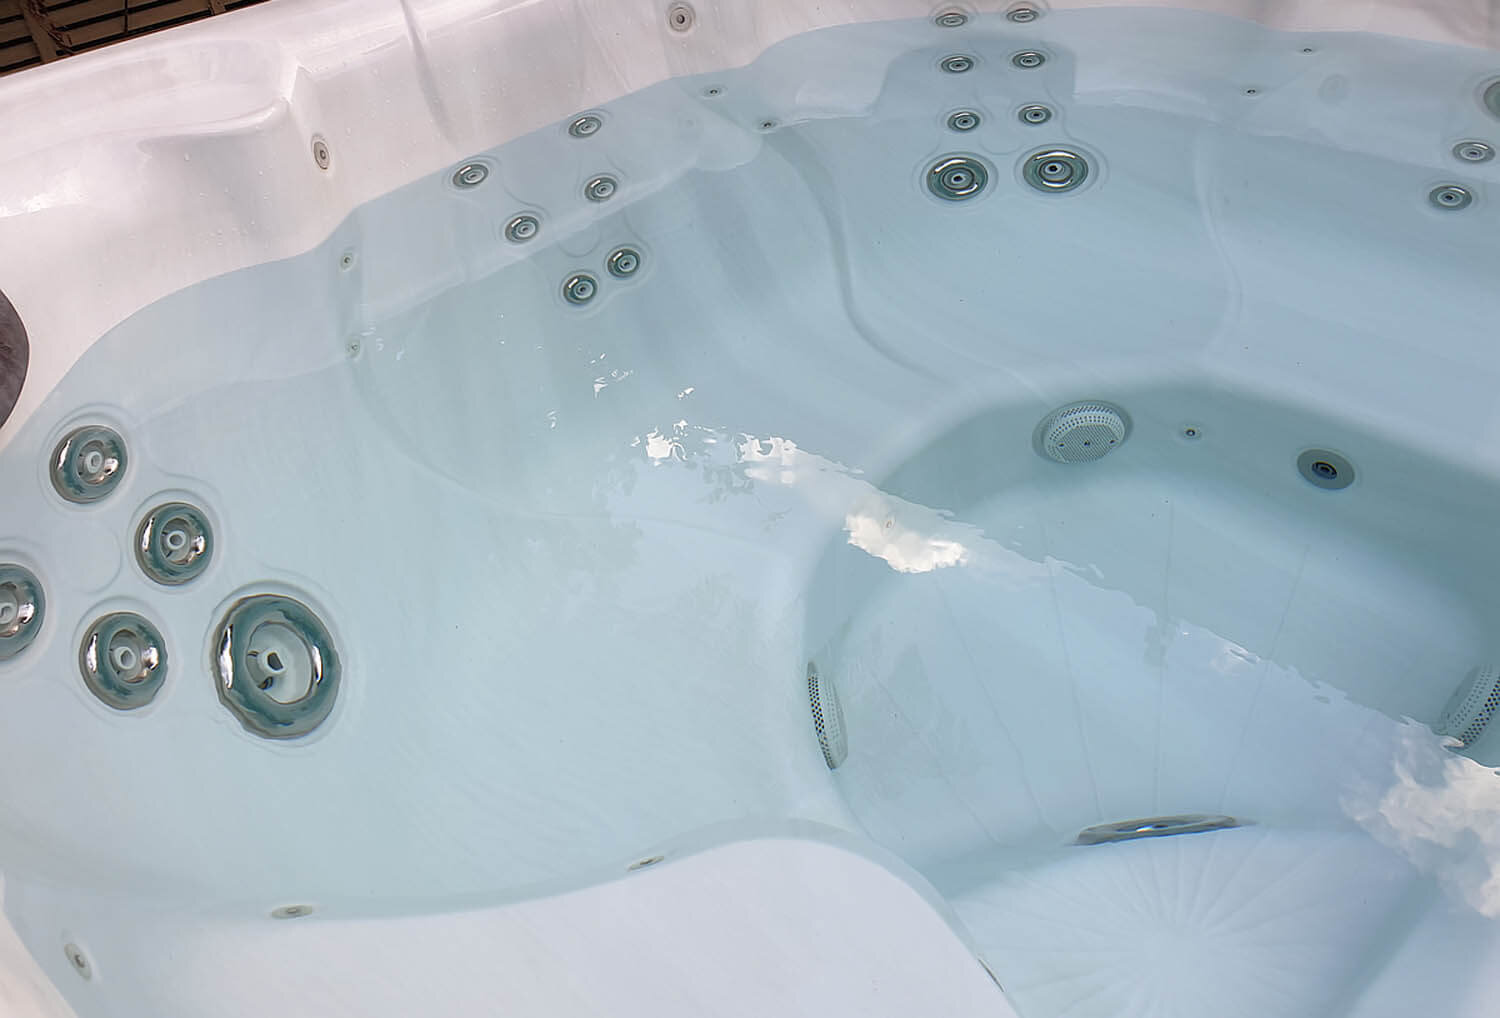
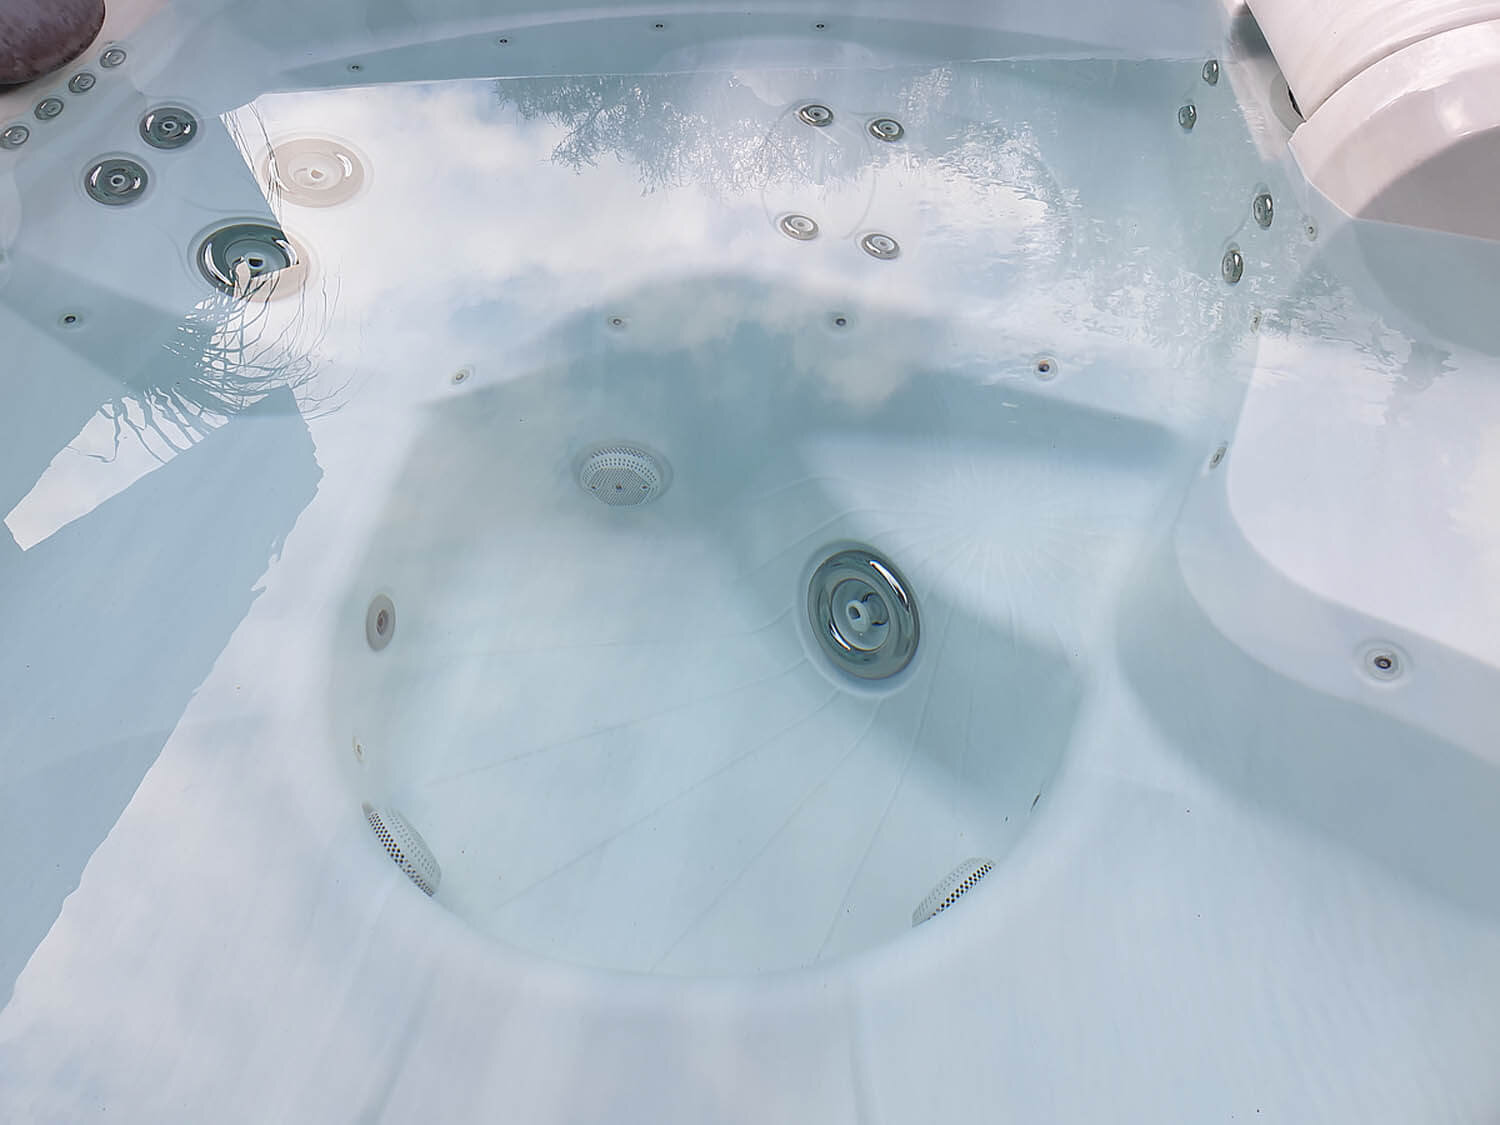
Next remove the existing Salt cell from its normal location inside the filter by unscrewing the plastic cap that secures the filter, and lift this free from the standpipe. In some installations the cell is located inside the filter compartment beside one of the filters.
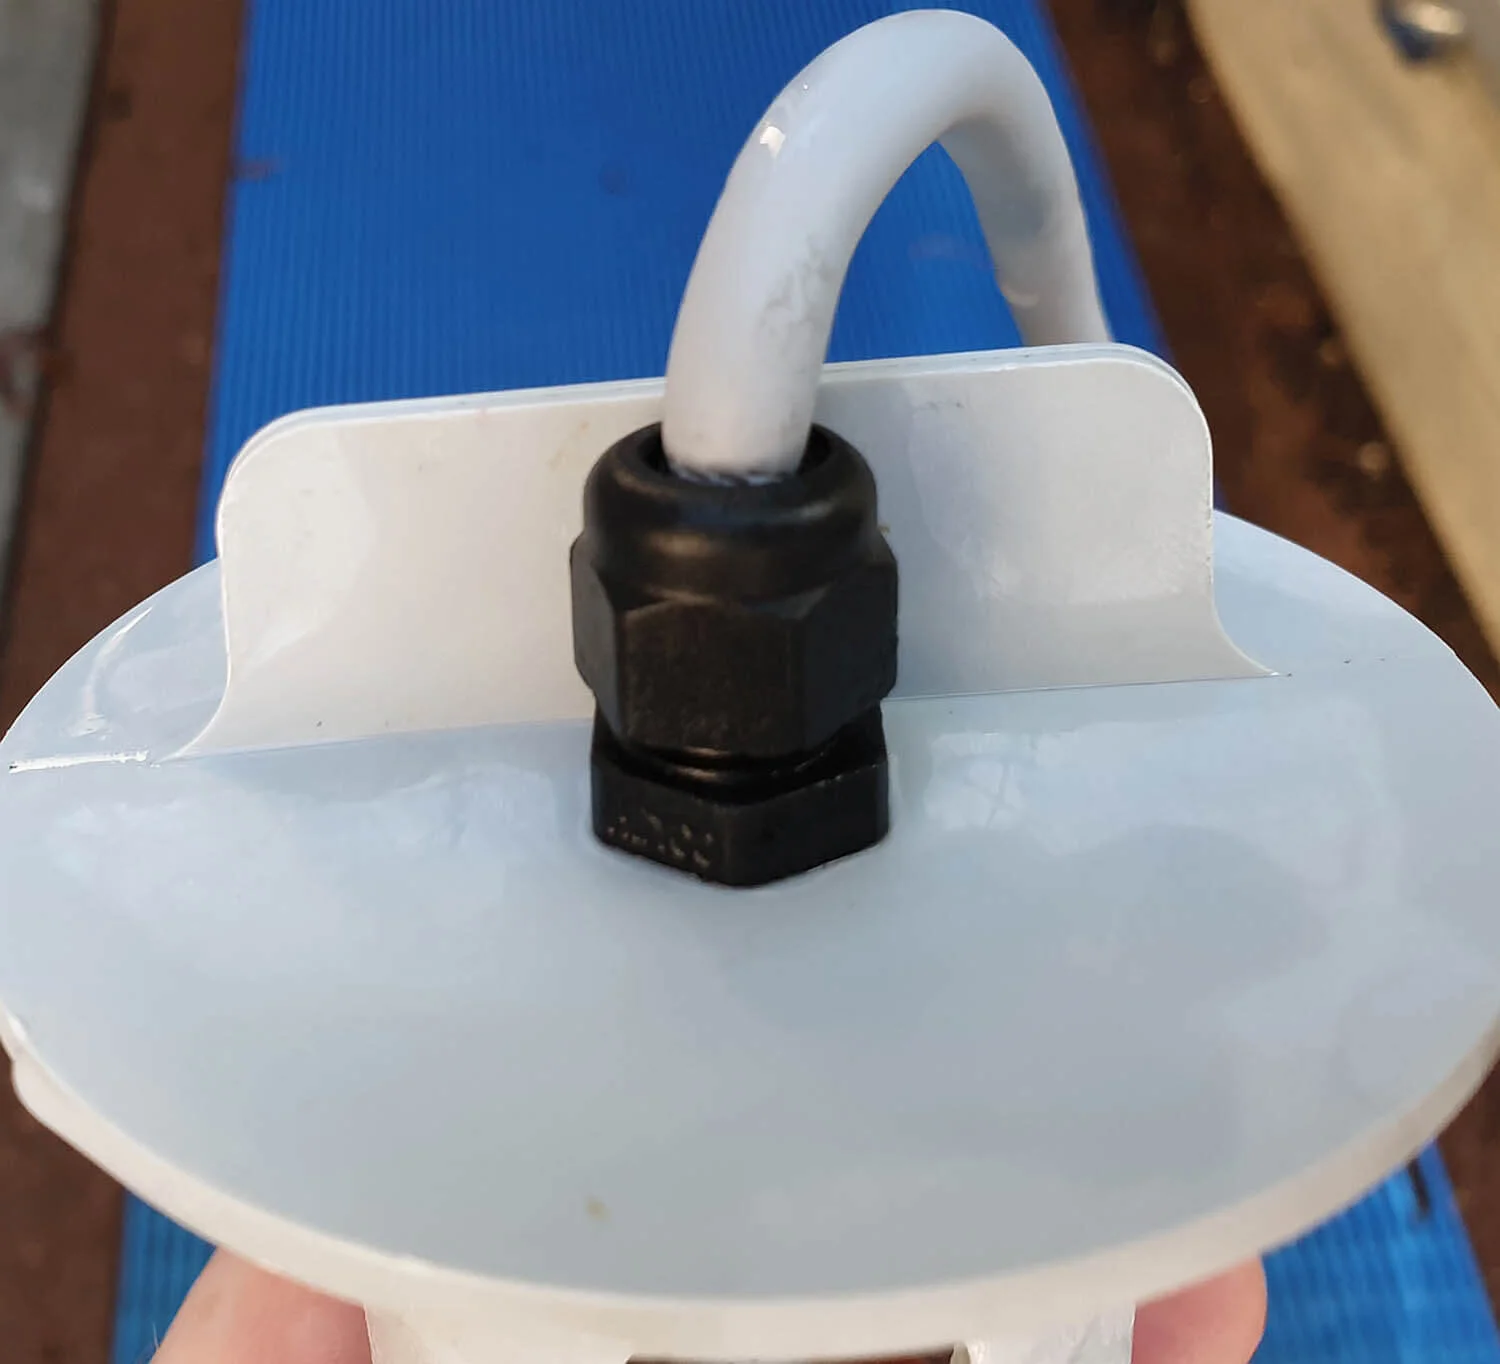
Once the existing Salt cell is free from the filter assembly, it is necessary to unscrew and remove the cable grip assembly around the cell cable where it enters the body shell of the spa (and goes into the pump compartment). A new sealing cable gip is supplied fitted to the cable of your new Scepter cell. Carefully pull the cell cable through the hole until the bullets emerge. Sometimes if the spa shell wall hole is small, it is necessary to push each of the bullets, one by one, through the spa shell wall from the inside of the pump space or withdraw one by one using the long nose pliers.

Next feed the bullet connectors at the end of the new SCEPTER cell cable, one-by-one, into the hole on the spa shell wall and feed the cable in after these until the cable seal grip reaches the correct position on the Spa shell wall. The correct cable position for the cable assembly grip is where the cell has enough free cable to allow it to be positioned beside your filter (or one of your filters) mid way down. Re tighten the cable grip assembly into the Spa shell wall by screwing the two pieces of the fitting in until tight to ensure a correct seal around the cable. Place the new SCEPTER cell in a position under water, so that you can observe it’s production of sanitiser when turned on. (this may be a different position to the final home of the SCEPTER)

The next step is to remove the cable grip assembly from your filter screw cap, so that the existing salt cell cable can be withdrawn from the screw cap. Once the cable is clear, block the hole in the filter cap with the supplied insert, or by other means, and then re-install the cap to lock the filter back in place.
Locate the end of the SCEPTER cell cable with its two male bullets in the pump compartment. Route this cable so that the two bullet connectors can be plugged into the cable coming from the Salt System Controller. Plug these together – the order/polarity does not matter. Using a cable or twist tie, clean-up any excess cable length into a tidy “hank”.
If at this stage you have the correct and balanced salt water in the spa, (as per the instructions below in Part 2) you may test the new SCEPTER cell. After you have submerged the Scepter in your Spa water where you can view the clear cell body, turn power to the spa back on again. After a period of time (anything from 2-5 minutes) the Salt System Controller will detect the cell and initiate the production of chlorine sanitisers in the spa water. You will be able to view this through the clear housing of the Scepter to confirm the correct level of salt and that the SCEPTER cell is ready to work. Once operation is verified, position the Scepter in it’s operational location either beside or on top of the filter, or in the lowest point of spa water.
In addition to visual verification of correct operation, use the ACE controller setting on your control panel to confirm that salt level and cell operation is within the required parameters. The indicator should be somewhere in the green range. If not run the cell test function to re-test. Sometimes you will need to run the “Boost” function to start sanitiser production with a new cell. Please note that water temperature above 35 degrees, correct salt level and correct water hardness as below must be set before the new Scepter cell will start producing sanitiser.
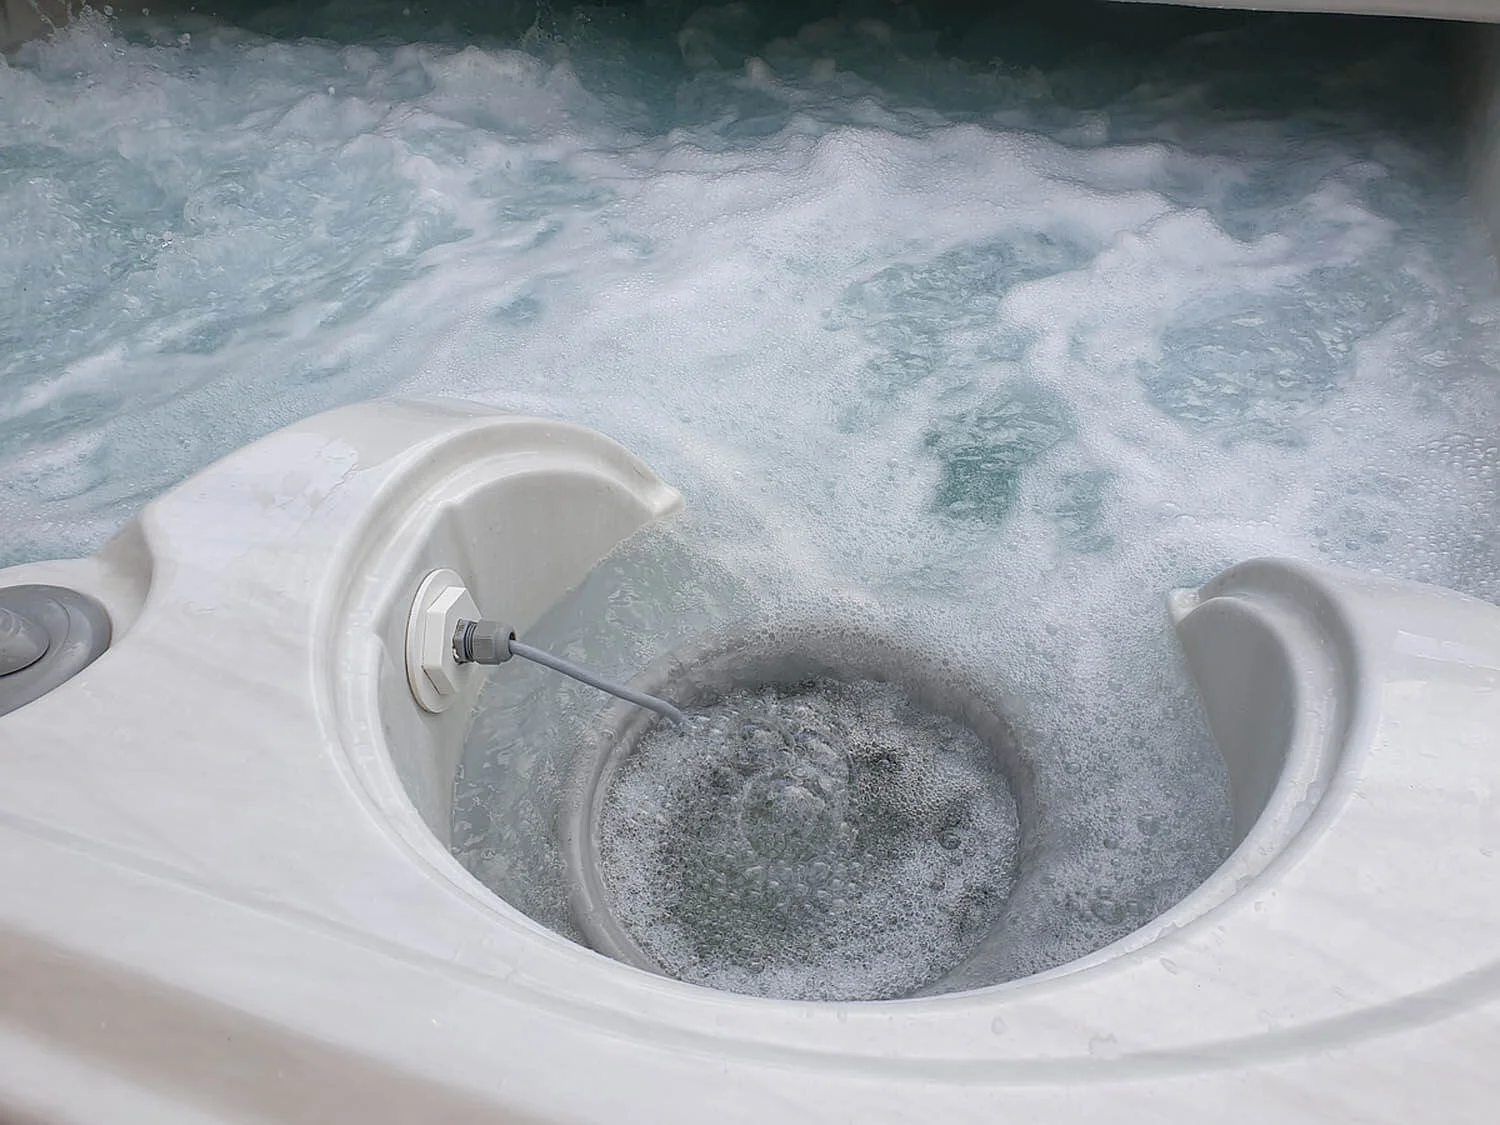
Once the system is up and running you will see a “mist” of what looks like white sanitiser / bubbles coming off the SCEPTER cell plates. Sometimes this will require you to select the “boost” function on the spa’s control screen

If the Salt System controller cannot see the new SCEPTER cell, or the new cell does not produce sanitiser, turn off the spa power again and check that the two sets of bullet connectors are properly “seated”. Power on again to check.

When you are happy that the new SCEPTER cell is working, set the output level that you require to meet the necessary sanitiser demand. Start say at level 3, and then as you regularly check the spa water balance after some usage re-set the output level as required. The lower the output level selected, the longer the cell life. Don’t forget to now position the SCEPTER cell in its normal operational position down beside the filter.

When all complete reassemble the cover panel over the pump compartment in the reverse order to its removal.
Part 2: Spa Water Preparation
For this part of the installation you will probably need the following:
A Quality clean water source.
An inline carbon water filter (optional)
Suitable salt with no additives such as anti-caking agents, or impurities such as those found in agricultural salt. Salt supplied by pool shops for swimming pools is suitable and fairly low cost.
Calcium Hardness increase product which is usually in the form of granules. These are to be mixed with warmed spa water and dissolved in a bucket before adding to the spa. Again obtain these from a pool shop.
Suitable test strips that cover the basics of pH, Alkalinity, Chlorine, Total Hardness and salt, etc.
A Liquid product to lower pH. Use cheap bulk white vinegar.
A product to raise pH. Baking soda powder mixed with water works well, or obtain the same thing in bulk from a pool shop marketed as “pH up”.
Liquid Chlorine. Try to avoid powdered products which can increase the waters Total Dissolved Solids (TDS). You can try un-scented house hold bleach, or use liquid chlorine supplied for swimming pool use. (this is usually very concentrated)
Phosphate remover in the form of a liquid from a pool shop.
With the installation of a new Sceptre salt water cell, we recommend where possible to start with a refill of fresh clean water (preferably filtered using a carbon filter).

Once the spa has been filled to the recommended level, turn on the power to bring the water up to the desired operating temperature which is normally in the range of 35 to 39 degrees C. If the SCEPTER cell has already been physical installed, continue with the instructions below. If not, turn spa power off and follow the instructions in Part 1.
Add the correct quantity of salt as recommended for your spa model. Do this with the jests running at high speed, by gradually adding the salt dissolved in warm spa water into the filter compartment. Check using indicator strips that the Spa water salt level is in the range of 1500 – 1700 ppm. NOTE: For Scepter salt cells manufactured and tested from January 2024 onwards, do not exceed 1500ppm as these cells are more sensitive due to electrode material updates. Exceeding this level is likely to have the ACE system controller indicate salt reading in the red when a test is run, and the system will indicate “Contact your dealer”. You can address this by diluting your spa water to lower the salt concentration.
Check water hardness. With the some Salt Water Systems water hardness is recommended to be in the range of 25 – 75 ppm. However low water hardness in this range is generally not recommended by Pool and Spa professionals in order to prevent damage to spa components and for best water balance.
With the SCEPTER it is recommended water hardness to be in the range of 200 – 300ppm. Low water hardness may damage the cells titanium plates in a short period of time and is not covered under warranty. As required, add the correct amount ( follow the instructions on your Harness Increase product) of dissolved hardness increase granules to the filter compartment with the jests running to achieve the correct hardness level of around 250ppm.
“Shock” the spa water with liquid chlorine (bleach is one option) while the jets are running, and the cover off of the spa for around 10 minutes. For small 2-3 person spas 1 cup, for 4 – 6 person spas 2 – 3 cups.
Adjust pH to between 7.0 and 7.5. Again with jets running, add white vinegar to lower the water pH. For small 2-3 person spas 1 cup, for 4 – 6 person spas 2 – 3 cups. Please note over time the Spa water pH will rise (over a month to around pH 8.1) due to the electrolysis process of the salt system. It is important therefore to lower Spa water pH regularly as high pH will erode the titanium coating on the cell electrodes and therefore reduce cell life.
If Spa water is foaming when the jets are run, add a small amount of Phosphate remover as per the instructions on the bottle. Usually this is around 20mls, again with the jets running.
After 24 hours of operation check water balance and use either white vinegar to lower pH, or baking soda to raise pH.